Setup a Fresh DevGuard Instance and Scan for Vulnerabilities
Learn how to quickly set up DevGuard using Docker Compose and perform your first vulnerability scan to detect known CVEs in your software.
What You'll Learn
In this tutorial, you'll learn how to:
- Set up a DevGuard instance using docker-compose
- Create an organization, a group and a repository with the getting started flow
- Use the DevGuard scanner to scan a software project for known vulnerabilities
What You'll Build
By the end of this tutorial, you'll have a fully functional DevGuard instance running via docker-compose, with an organization, group and repository set up, and a successful vulnerability scan completed on a sample software project.
Prerequisites
Before you begin, you should have:
- Basic command line knowledge
- Docker installed on your system
- A local project with dependencies to scan (for example, a Go, Node.js or Python project)
If you don't have Docker installed, follow the Docker installation guide.
Tutorial
Set up a local DevGuard instance
First, clone the devguard-docker-deployment repo, run the guided setup, and start DevGuard:
The guided setup writes .env and generates the encryption key, the Kratos config, and the database init script, then the services are started in the background.
Verify it worked: DevGuard services should start without errors. The web frontend will be available at http://localhost:3000, the API at http://localhost:8080, and Kratos (authorization server) at http://localhost:4433.
Create your account
Navigate to the registration page at http://localhost:3000/registration and create a new user account:
- Enter any email address (you won't need to verify it for local instances)
- Choose a secure password
- Click the Sign up button
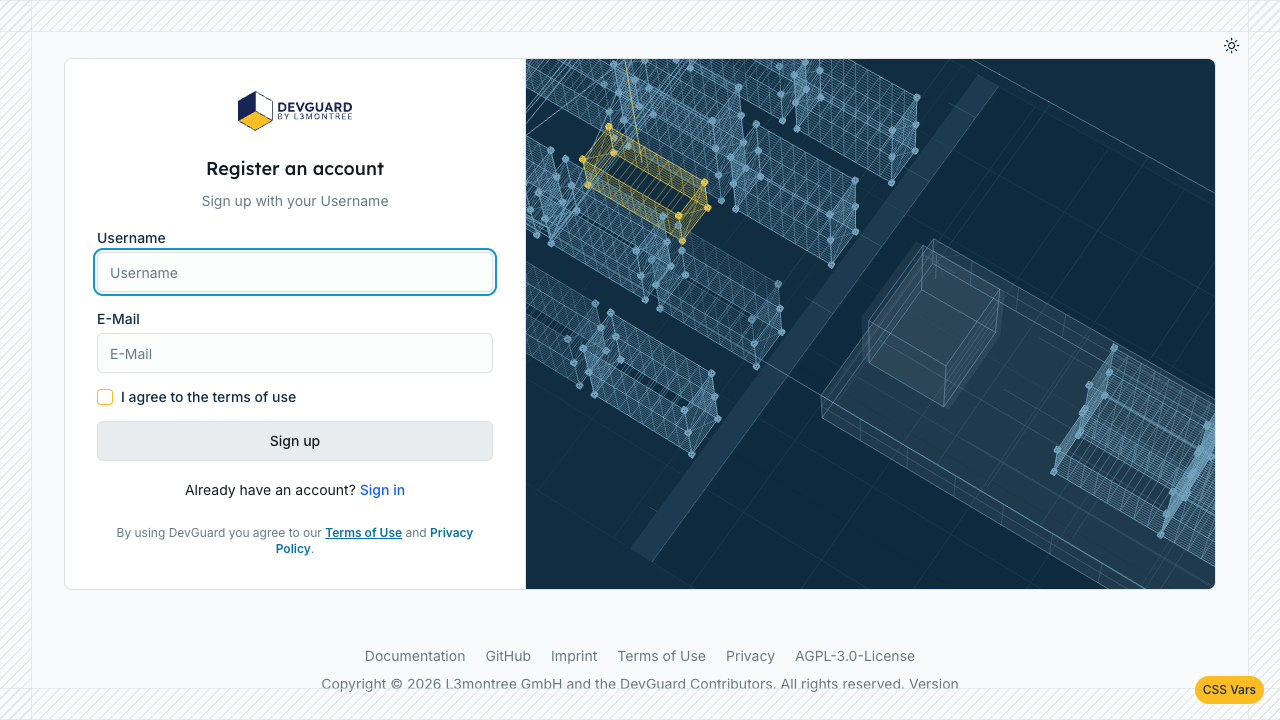
Verify it worked: You should land on the Welcome to DevGuard page. A step-by-step getting started flow guides you from an empty instance to your first repository in four steps: create your organization, create a group, create a repository and integrate DevGuard.
Create your organization
Your organization holds all groups, repositories and members of your company:
- Enter a name for your organization (for example, "MyOrg")
- Click the Create Organization button
If a colleague already invited you, click Join Organization instead.
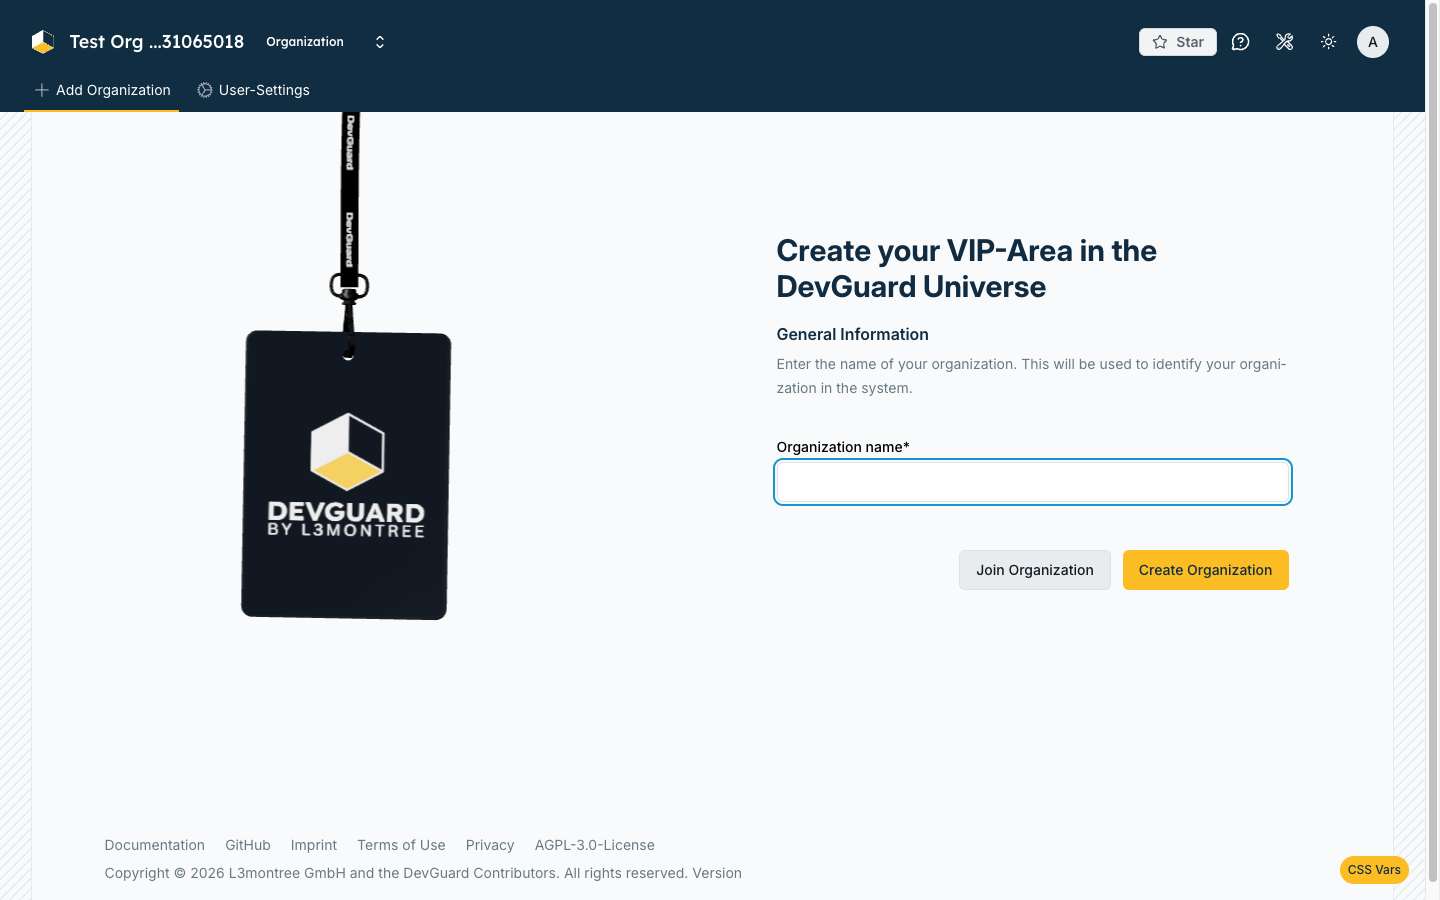
Verify it worked: The getting started flow marks the organization as done and moves on to step 2.
Create a group
Groups organize your software projects, for example one group per product. You can split a group further into subgroups, e.g. for the frontend and the backend.
- Enter a name for your group
- Add a description (optional)
- Click Create
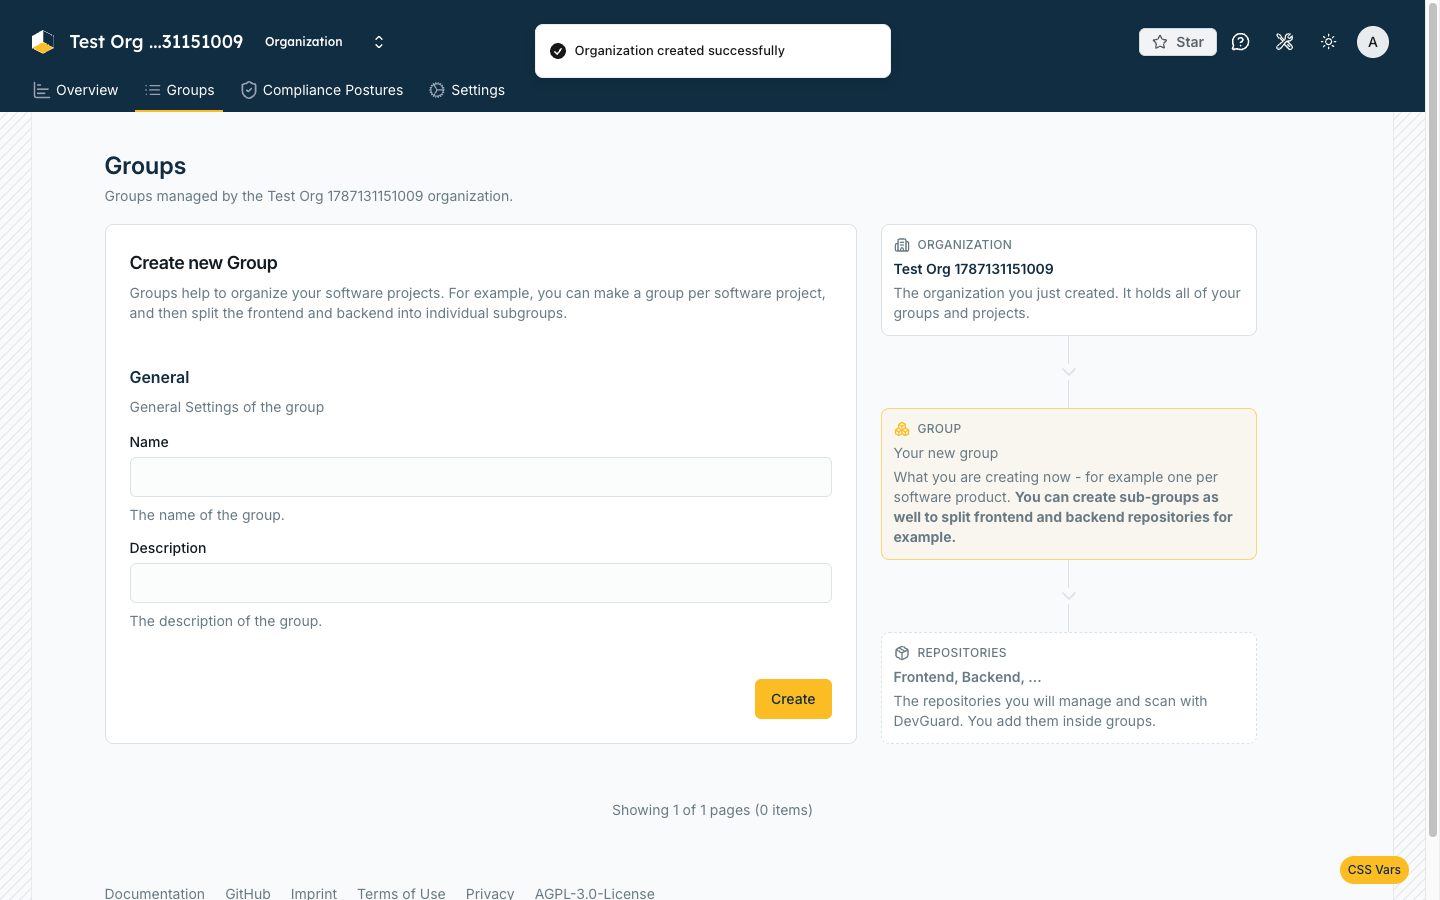
You can create as many groups as you need and change these values later. Learn more about how organizations, groups and repositories relate in DevGuard's Key Concepts.
Create a repository
A repository is a software project you would like to manage the risks of:
- Keep Create new Repository selected (choose Create new Subgroup if you want to split a bigger project first)
- Enter a name for your repository
- Add a description (optional)
- Select the repository provider you are using: GitHub, GitLab or None. The provider preselects the matching CI/CD setup in the next step. It is optional, so you can use DevGuard without connecting a GitHub or GitLab repository.
- Click Create
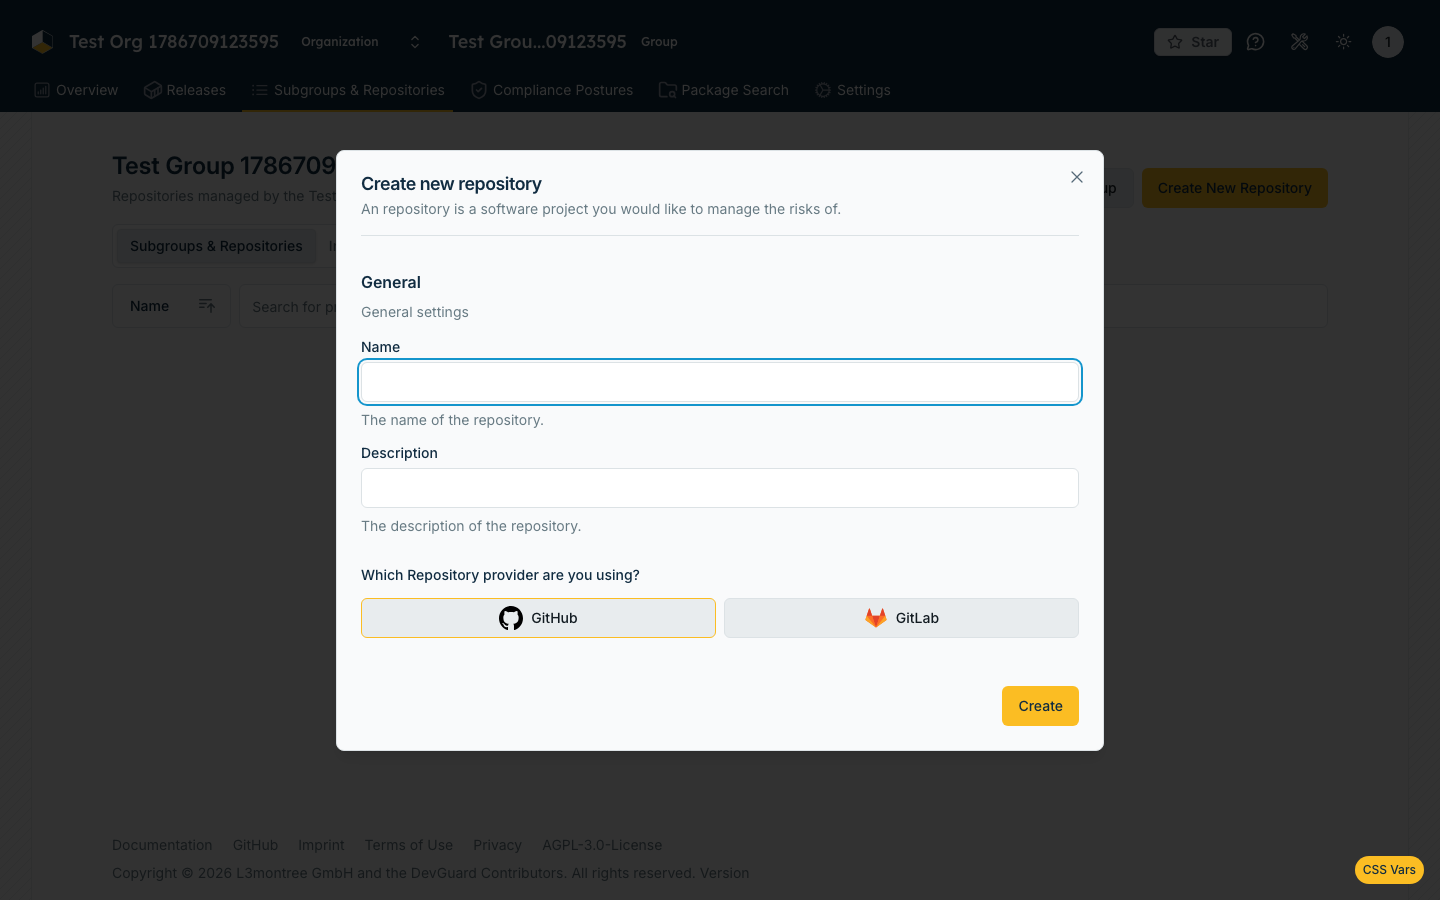
Verify it worked: You should be redirected to the onboarding page of your newly created repository.
Choose how to integrate DevGuard
The repository onboarding page offers three ways to get your first results into DevGuard:
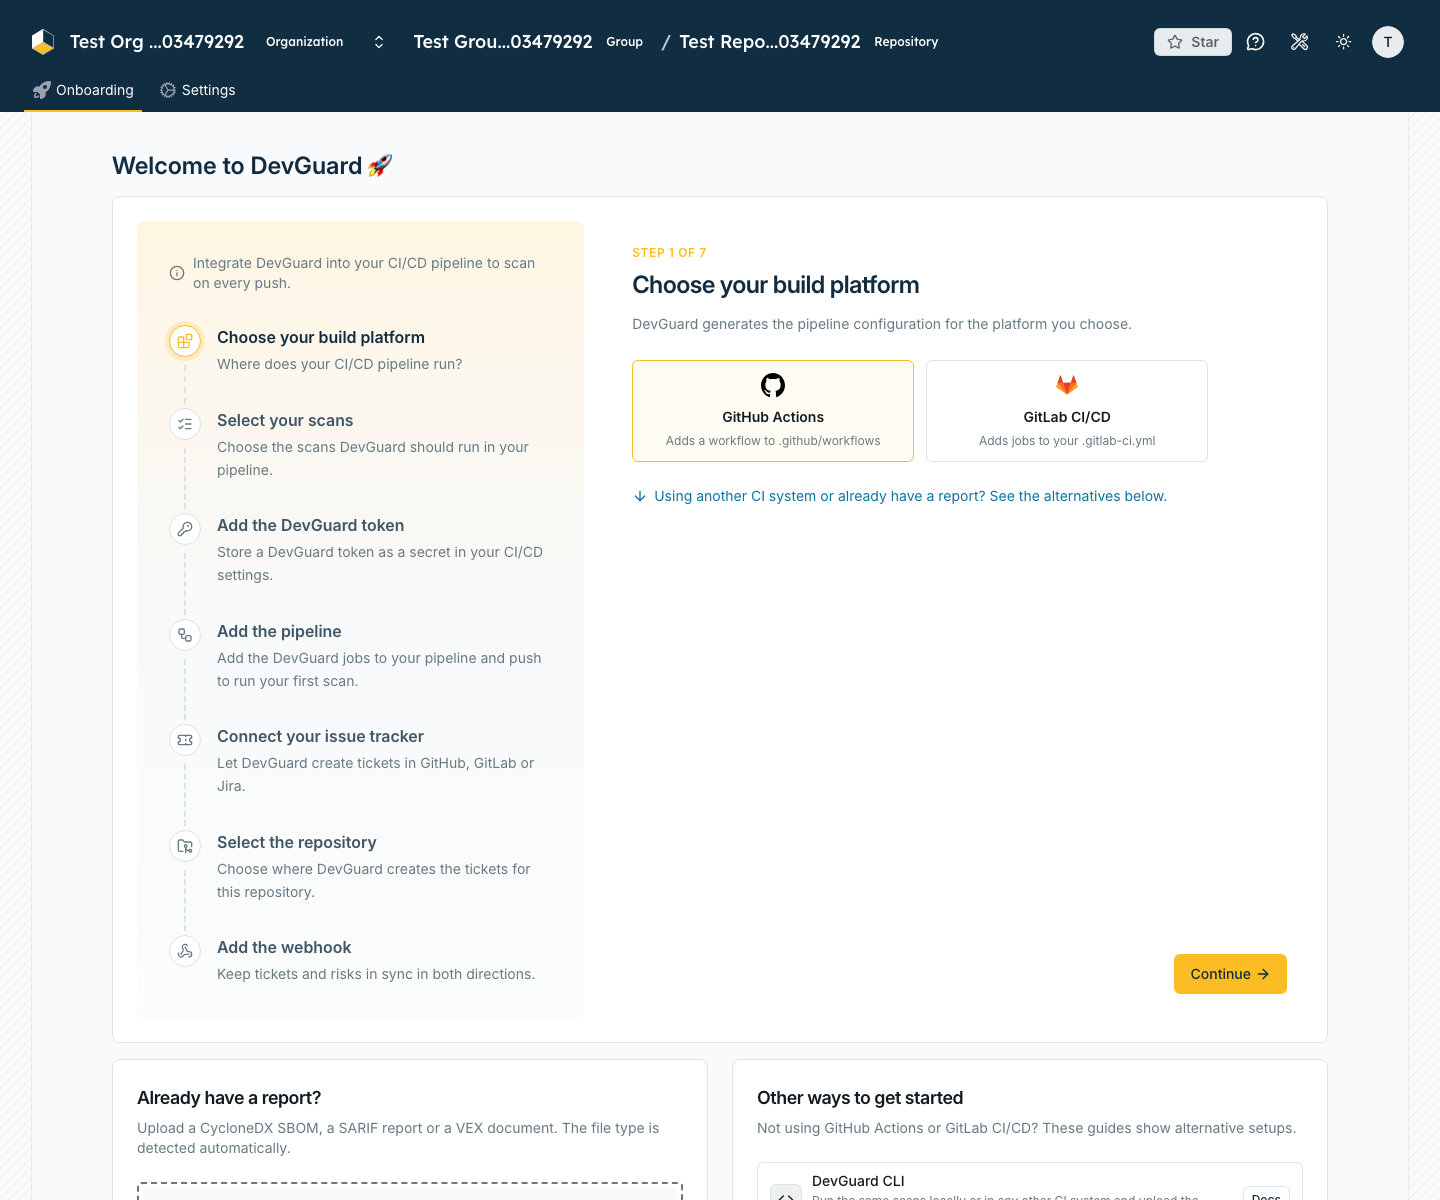
- CI/CD setup: a guided setup that scans on every push. Choose your build platform (GitHub Actions or GitLab CI/CD), select the scans, add the DevGuard token as a CI/CD secret, copy the generated pipeline, connect your issue tracker and add the webhook.
- Already have a report? Upload an existing CycloneDX SBOM, SARIF report or VEX document. DevGuard detects the file type automatically.
- Other ways to get started: set up the DevGuard CLI, the DevGuard API or integrations and connectors such as Kubernetes.
Hosted CI runners on GitHub or GitLab can't reach a DevGuard instance running on localhost, so this tutorial uses the DevGuard CLI from your machine. Once DevGuard runs on a reachable URL, follow the CI/CD setup or the guides for GitHub Actions and GitLab CI.
Create a DevGuard token
The scanner needs a token to upload results to DevGuard. In the CI/CD setup on the onboarding page:
- Click Continue until you reach Add the DevGuard token
- Click Generate token
- Copy the token and keep it somewhere safe - it is only shown once
The generated token has the scan scope. Alternatively, create a personal access token in your user settings under Access tokens.
Run the DevGuard scanner
Pull the DevGuard scanner Docker image:
Navigate to the directory containing the code you want to scan and run the scanner. Replace the --assetName with the path of your repository (<organization>/projects/<group>/assets/<repository>, as shown in the URL of the onboarding page) and --token with your token:
The scanner analyzes your dependencies and identifies known vulnerabilities.
Example output:
Verify it worked: The terminal output should display a table of found vulnerabilities with their risk scores and CVSS ratings.
View scan results in the web interface
Return to the onboarding page and click Reload page, or use the link printed in the terminal output.
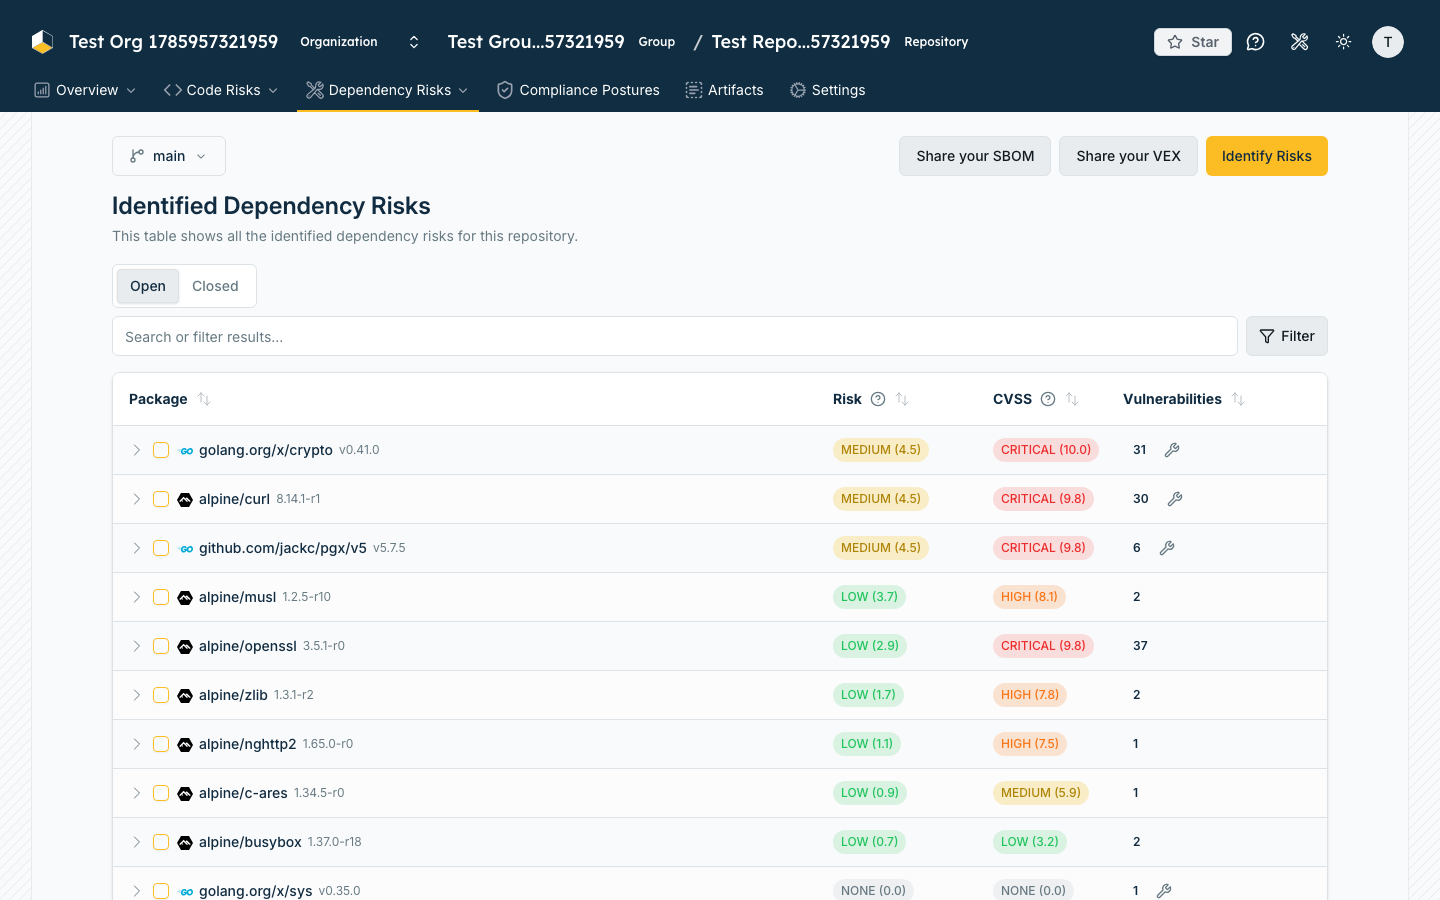
The repository now shows the scan results under Dependency Risks, including the detected vulnerabilities, their risk scores and the affected dependencies.
Explore DevGuard features
Congratulations! You've successfully set up a DevGuard instance, created an organization structure, and performed your first vulnerability scan.
Take some time to explore additional features:
- Open individual vulnerabilities to understand their risk and remediation options
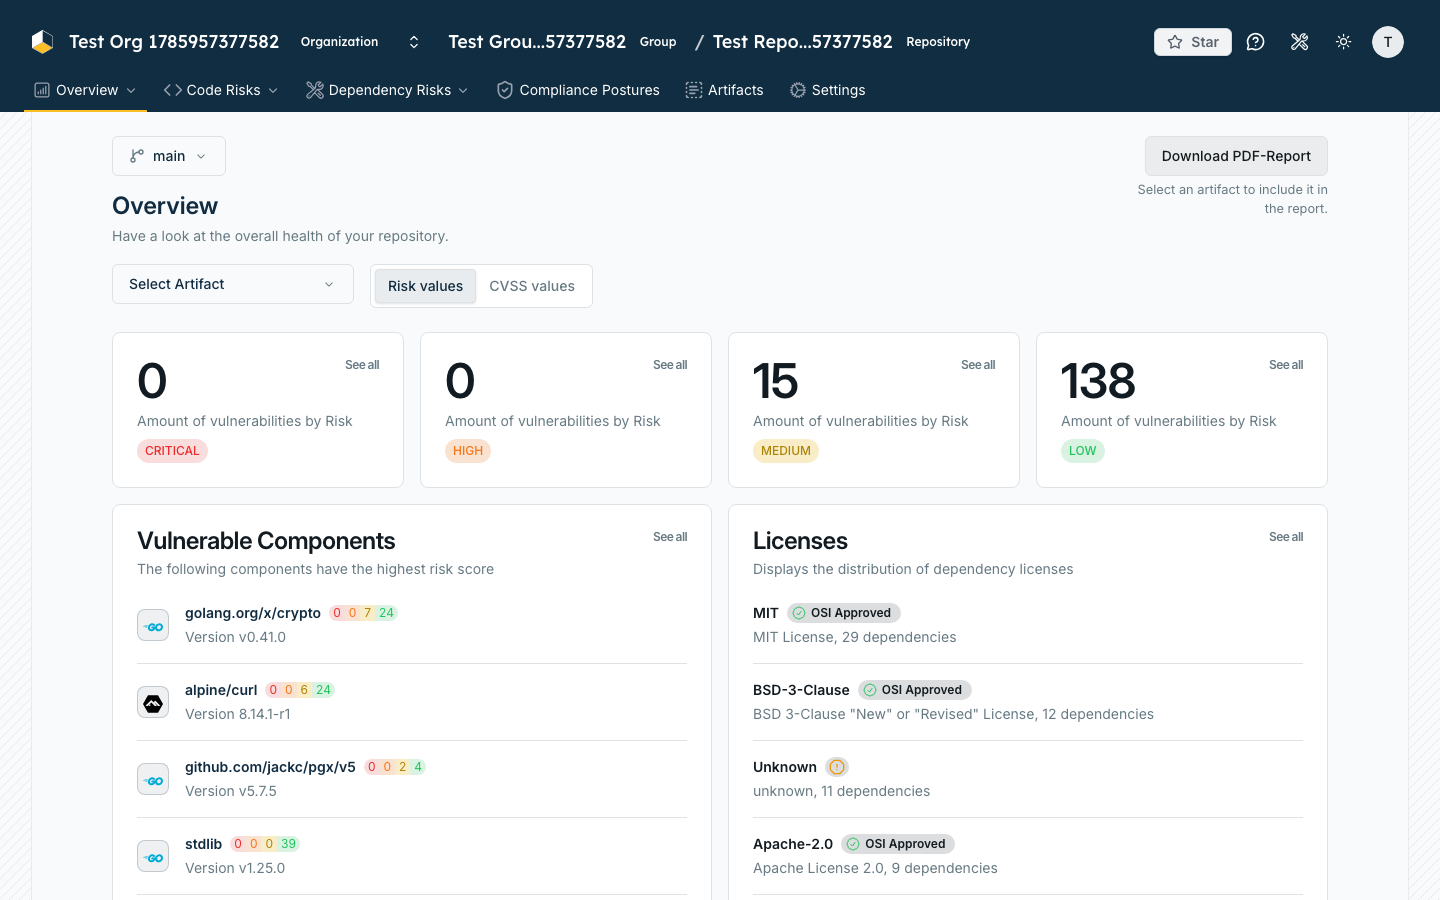
- Check the Overview of your repository for its security posture over time
- Explore how DevGuard assesses and prioritizes risks
Verify Your Success
You've completed this tutorial successfully if:
- The terminal output from the DevGuard scanner displays found vulnerabilities in a formatted table
- Your repository in DevGuard shows the detected vulnerabilities under Dependency Risks
- You can navigate through the DevGuard web frontend to view detailed scan results and repository information
Next Steps
Now that you have DevGuard running and have completed your first scan, here are some recommended next steps:
- Set up CI/CD integration - Scan on every push with GitHub Actions or GitLab CI
- Run more scans - Add source code, secret and container scans with the DevGuard scanner
- Sync tickets - Let DevGuard create tickets in your issue tracker with GitLab ticket sync
- Explore vulnerability management - Learn strategies for triaging, prioritizing and remediating detected vulnerabilities in the vulnerability management overview