Docker is an open-source containerization platform that helps developers package applications along with their dependencies into lightweight, portable containers. This ensures environmental consistency across development, testing and production.
In this article, we will walk through Dockerizing a Spring Boot application:
- Creating a simple Spring Boot app
- Building a JAR file
- Writing a Dockerfile
- Building and running a Docker container
Prerequisites
Before starting, make sure you have:
Step-by-Step Guide to Dockerizing a Spring Boot Application
Step 1: Create a Spring Boot Application
We can visit Spring Initializr to generate a skeleton Spring Boot project.
- Choose Maven as the build tool
- Add required dependencies (e.g., Spring Web)
- Click Generate to download the project

Step 2: Add Maven Plugin
Add the following plugin in your pom.xml to enable Spring Boot packaging and build commands:
<plugin>
<groupId>org.springframework.boot</groupId>
<artifactId>spring-boot-maven-plugin</artifactId>
</plugin>
This plugin allows you to:
- Package your Spring Boot app into an executable JAR
- Use commands like spring-boot:run or spring-boot:build-image
Step 3: Create a Simple Controller
Open the base java file of the project and add a new controller to the base class of the application.
Application.java:
package com.docker.spring;

import org.springframework.boot.SpringApplication;
import org.springframework.boot.autoconfigure.SpringBootApplication;
import org.springframework.web.bind.annotation.RequestMapping;
import org.springframework.web.bind.annotation.RestController;

@SpringBootApplication
@RestController
public class Application {

    @RequestMapping("/")
    public String home() {
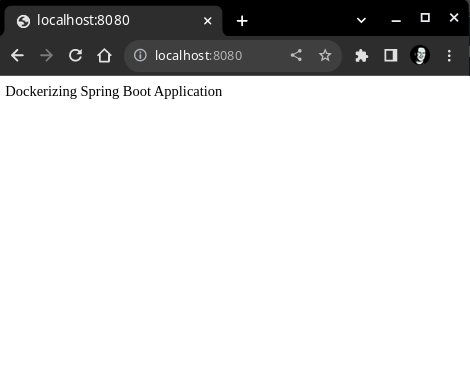
        return "Dockerizing Spring Boot Application";
    }

    public static void main(String[] args) {
        SpringApplication.run(Application.class, args);
    }
}
Step 4: Run the Application
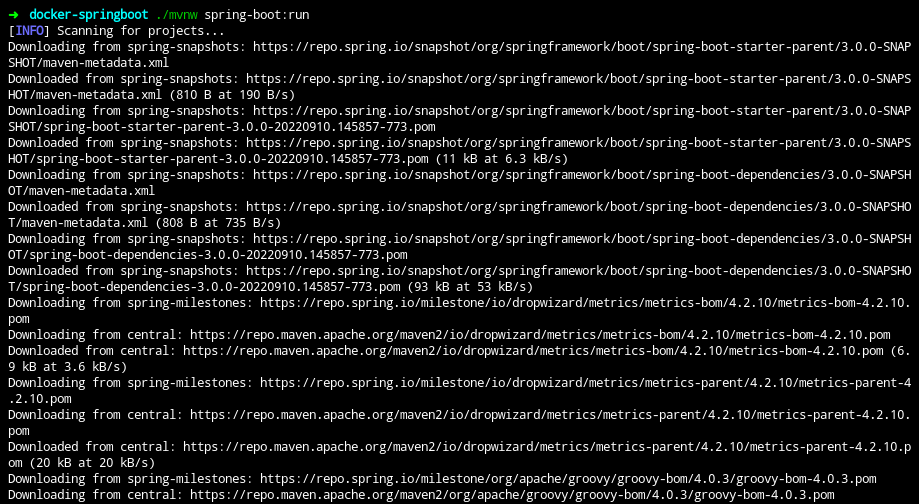
Now start the application by running the following command,
$ ./mvnw spring-boot:run
Navigate to http://localhost:8080 to test the application.
Step 5: Package the Application into a JAR
If you use Maven to build the jar file by using following command.
./mvnw clean package
This command compiles the project, runs any necessary tests and packages the application into a .jar file.
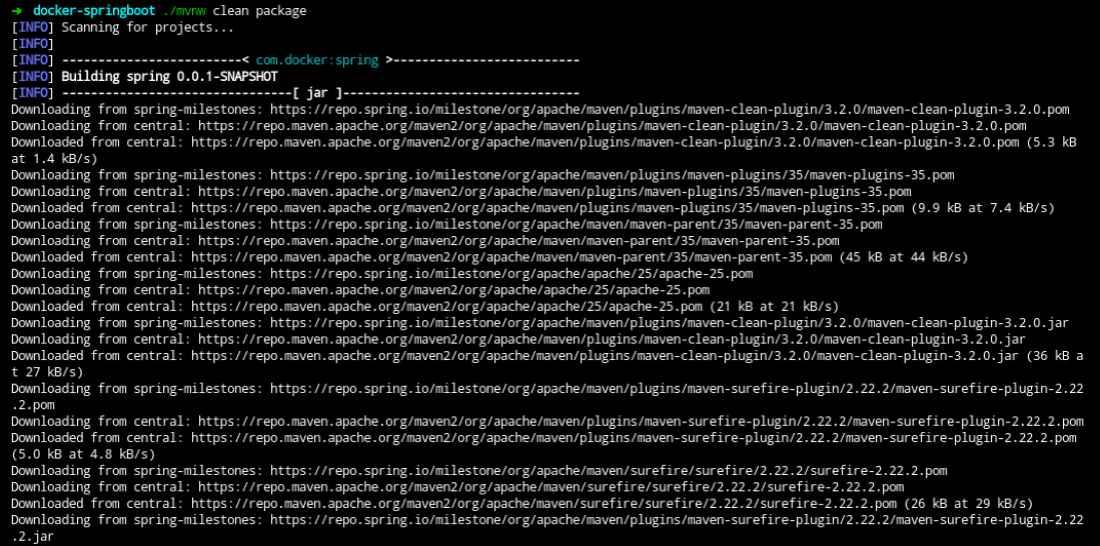
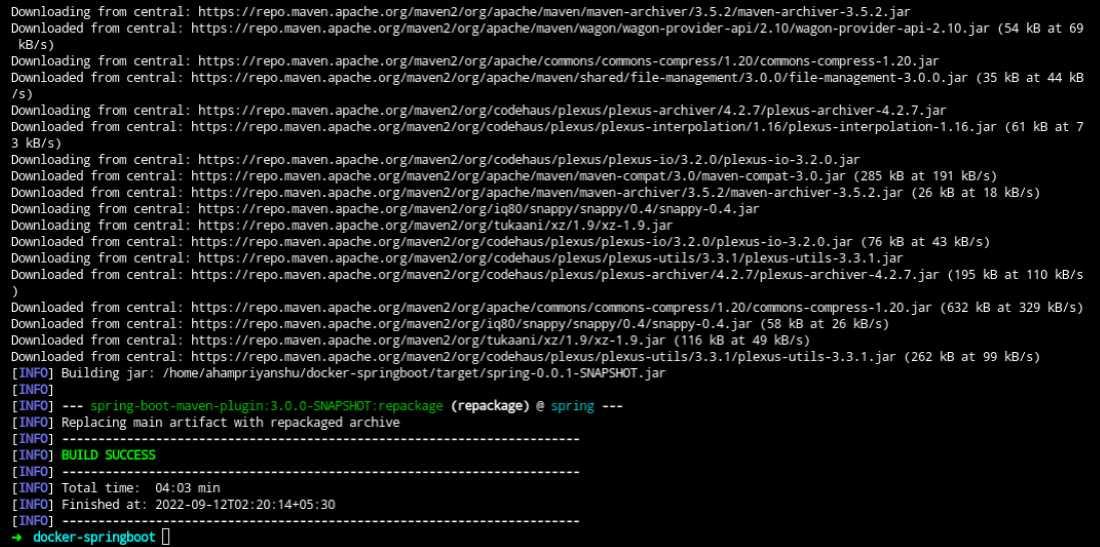
The following screenshot illustrates on the success building of the java application with maven build tool.
Dockerizing Our Application
Step 6: Create a Dockerfile
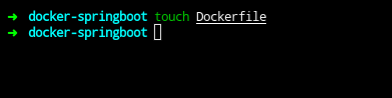
- Run the following command at the root of our project to build a Dockerfile. This command will create an empty Dockerfile in the current directory.
- After creating the Dockerfile, you can proceed to define the necessary instructions for building your Docker image as mentioned in below steps.
- Make sure the filename is exactly Dockerfile with no extension (case-sensitive)
$ touch Dockerfile
Step 7: Add configuration to dockerize the Spring Boot application
Now we have a working Spring Boot Application, To dockerize an application, now paste the following content into the Dockerfile:
FROM openjdk:18
WORKDIR /app
COPY ./target/spring-0.0.1-SNAPSHOT.jar /app/app.jar
EXPOSE 8080
CMD ["java", "-jar", "spring-0.0.1-SNAPSHOT.jar"]
The above file contains the following information:
- FROM openjdk:18: Uses the OpenJDK 18 base image to run Java applications.
- WORKDIR /app: Sets the working directory inside the container to /app.
- COPY ./target/spring-0.0.1-SNAPSHOT.jar /app: Copies the built JAR file from your local target/ folder to the container’s /app folder.
- EXPOSE 8080: Declares port 8080 as the port your app listens on (for documentation or orchestration tools).
- CMD ["java", "-jar", "spring-0.0.1-SNAPSHOT.jar"]: Runs the Spring Boot app by executing the JAR file when the container starts.
Step 8: Build Docker Image
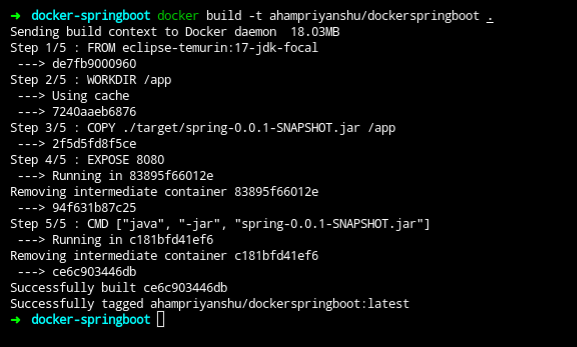
docker build -t spring-boot-app:latest .
Once the build process has been completed, you will receive the id and tag of your new image.
Step 9: Run Docker Container
To run your Spring Boot Docker image with correct port mapping, use:
docker run -p 8080:8080 spring-boot-app
This ensures your app is accessible at http://localhost:8080.
Without this mapping, your app would run inside the container but be inaccessible from your browser.
Step 10: Run with Custom Name and Port
$ docker run -d -p [host_port]:[container_port] --name [container_name] [image_id/image_tag]

Step 11: Verify Running Containers
Verify whether the container has been created successfully by running below command:
$ docker container ps

Step 12: Check the project
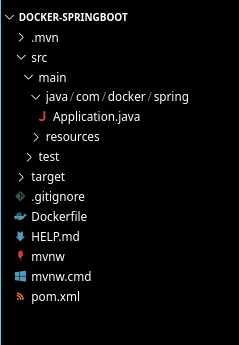
Ensure the project follows standard Spring Boot structure with all required files and dependencies properly configured