

Getting started
Download Kimchi Studio, sign in, and run your first agent session. Start with the short step run, then read on for the install details and onboarding.
This guide walks you through installing Kimchi Studio and signing in. Once you're in, you choose how to work: start chatting right away, or add a project to work on code. For an overview of Studio, see Kimchi Studio.
Early Access FeatureThis feature is in early access. It may undergo changes based on user feedback and continued development. We recommend testing in non-production environments first and welcome your feedback to help us improve.
Prerequisites
You need a Kimchi account. Sign up at app.kimchi.dev if you don't have one yet.
Kimchi Studio bundles the Kimchi Coding harness, so it needs no separate CLI installation. You can use both tools after you install Studio.
Kimchi Studio runs on macOS, Windows, and Linux:
| Platform | Minimum |
|---|---|
| macOS | macOS 13 Ventura or later |
| Windows | 64-bit Windows 10 (version 1809) or later; Windows 11 on ARM devices |
| Linux | Ubuntu 20.04, Debian 11, Fedora 38, openSUSE 15.5, or later |
Older versions, 32-bit systems, and musl-based Linux distros (for example, Alpine) are not supported.
Your first session
The path from download to working with the agent:
Download and install
Download Kimchi Studio from kimchi.dev.
Open the downloaded .dmg, drag Kimchi Studio into your Applications folder, and launch it. The build is signed and notarized, so it opens without a security prompt.
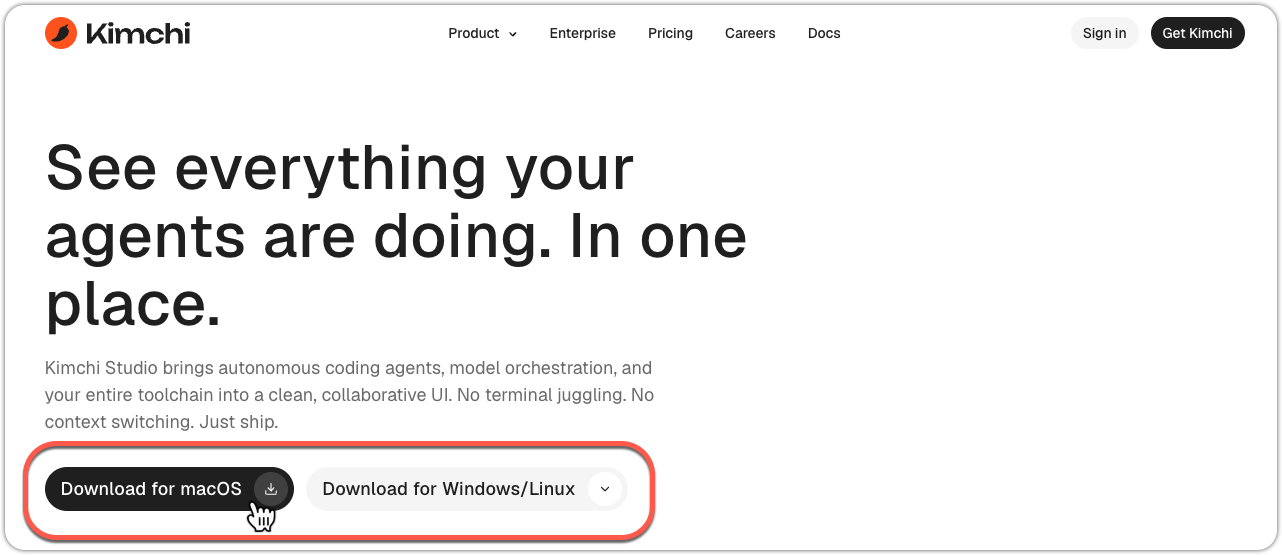
The Studio download page at kimchi.dev/studio, with the platform download buttons highlighted.
Sign in
On first launch, click Log in. Studio opens the Kimchi login page in your browser and authorizes the app. It shares your account with the Kimchi TUI and the VS Code extension. If you're already signed in on one of those, Studio skips this step automatically. Signing in is required; Studio doesn't open until you do.
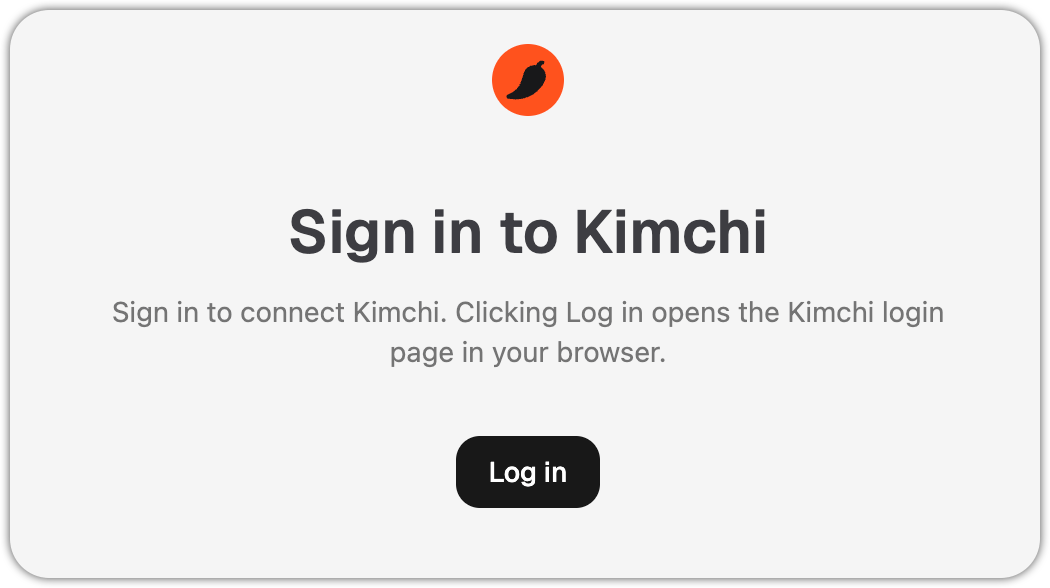
The sign-in prompt that opens on first launch. Clicking Log in authorizes Studio in your browser.
Import from other AI apps
On first launch, Studio scans your machine for setups from other AI coding tools and offers to import your skills and MCP servers. Select what you want to bring over, or skip. You can always import later from Settings → General. See Skills in Kimchi Studio and MCP servers and connectors.
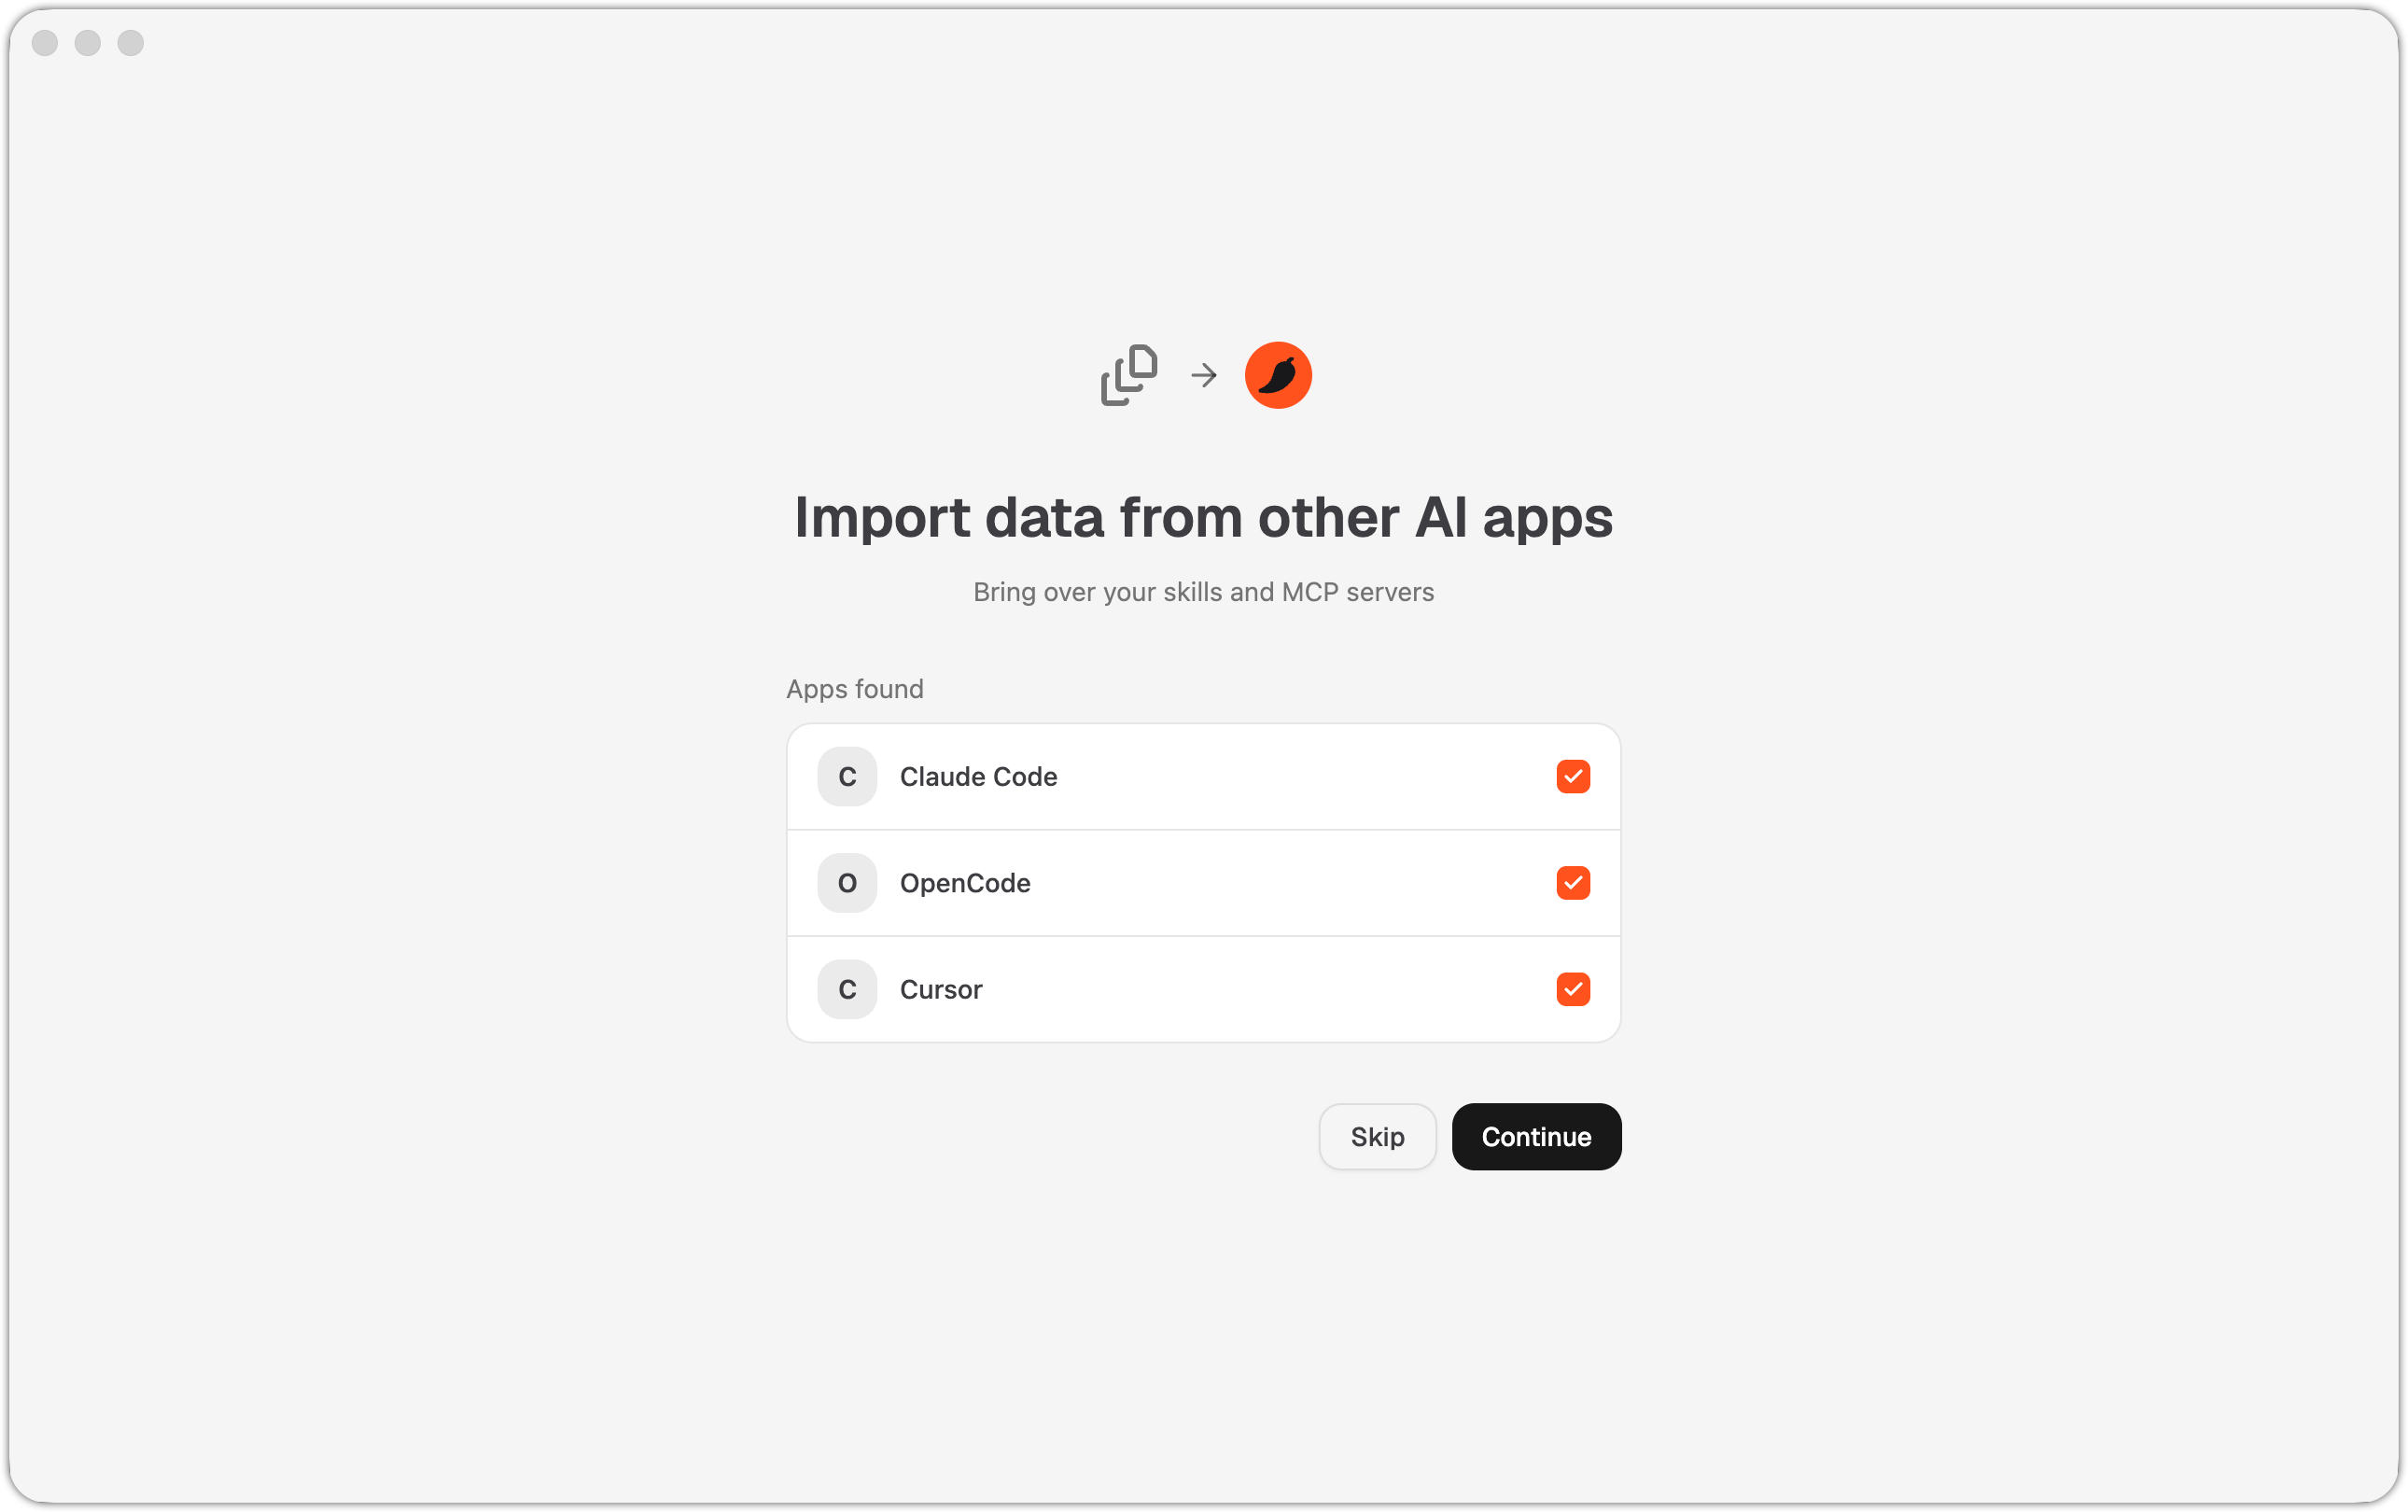
The onboarding import screen, listing AI coding tools found on your machine to import skills and MCP servers from.
Set your preferences
Choose your appearance and notification preferences. You can change all of these later in Settings.
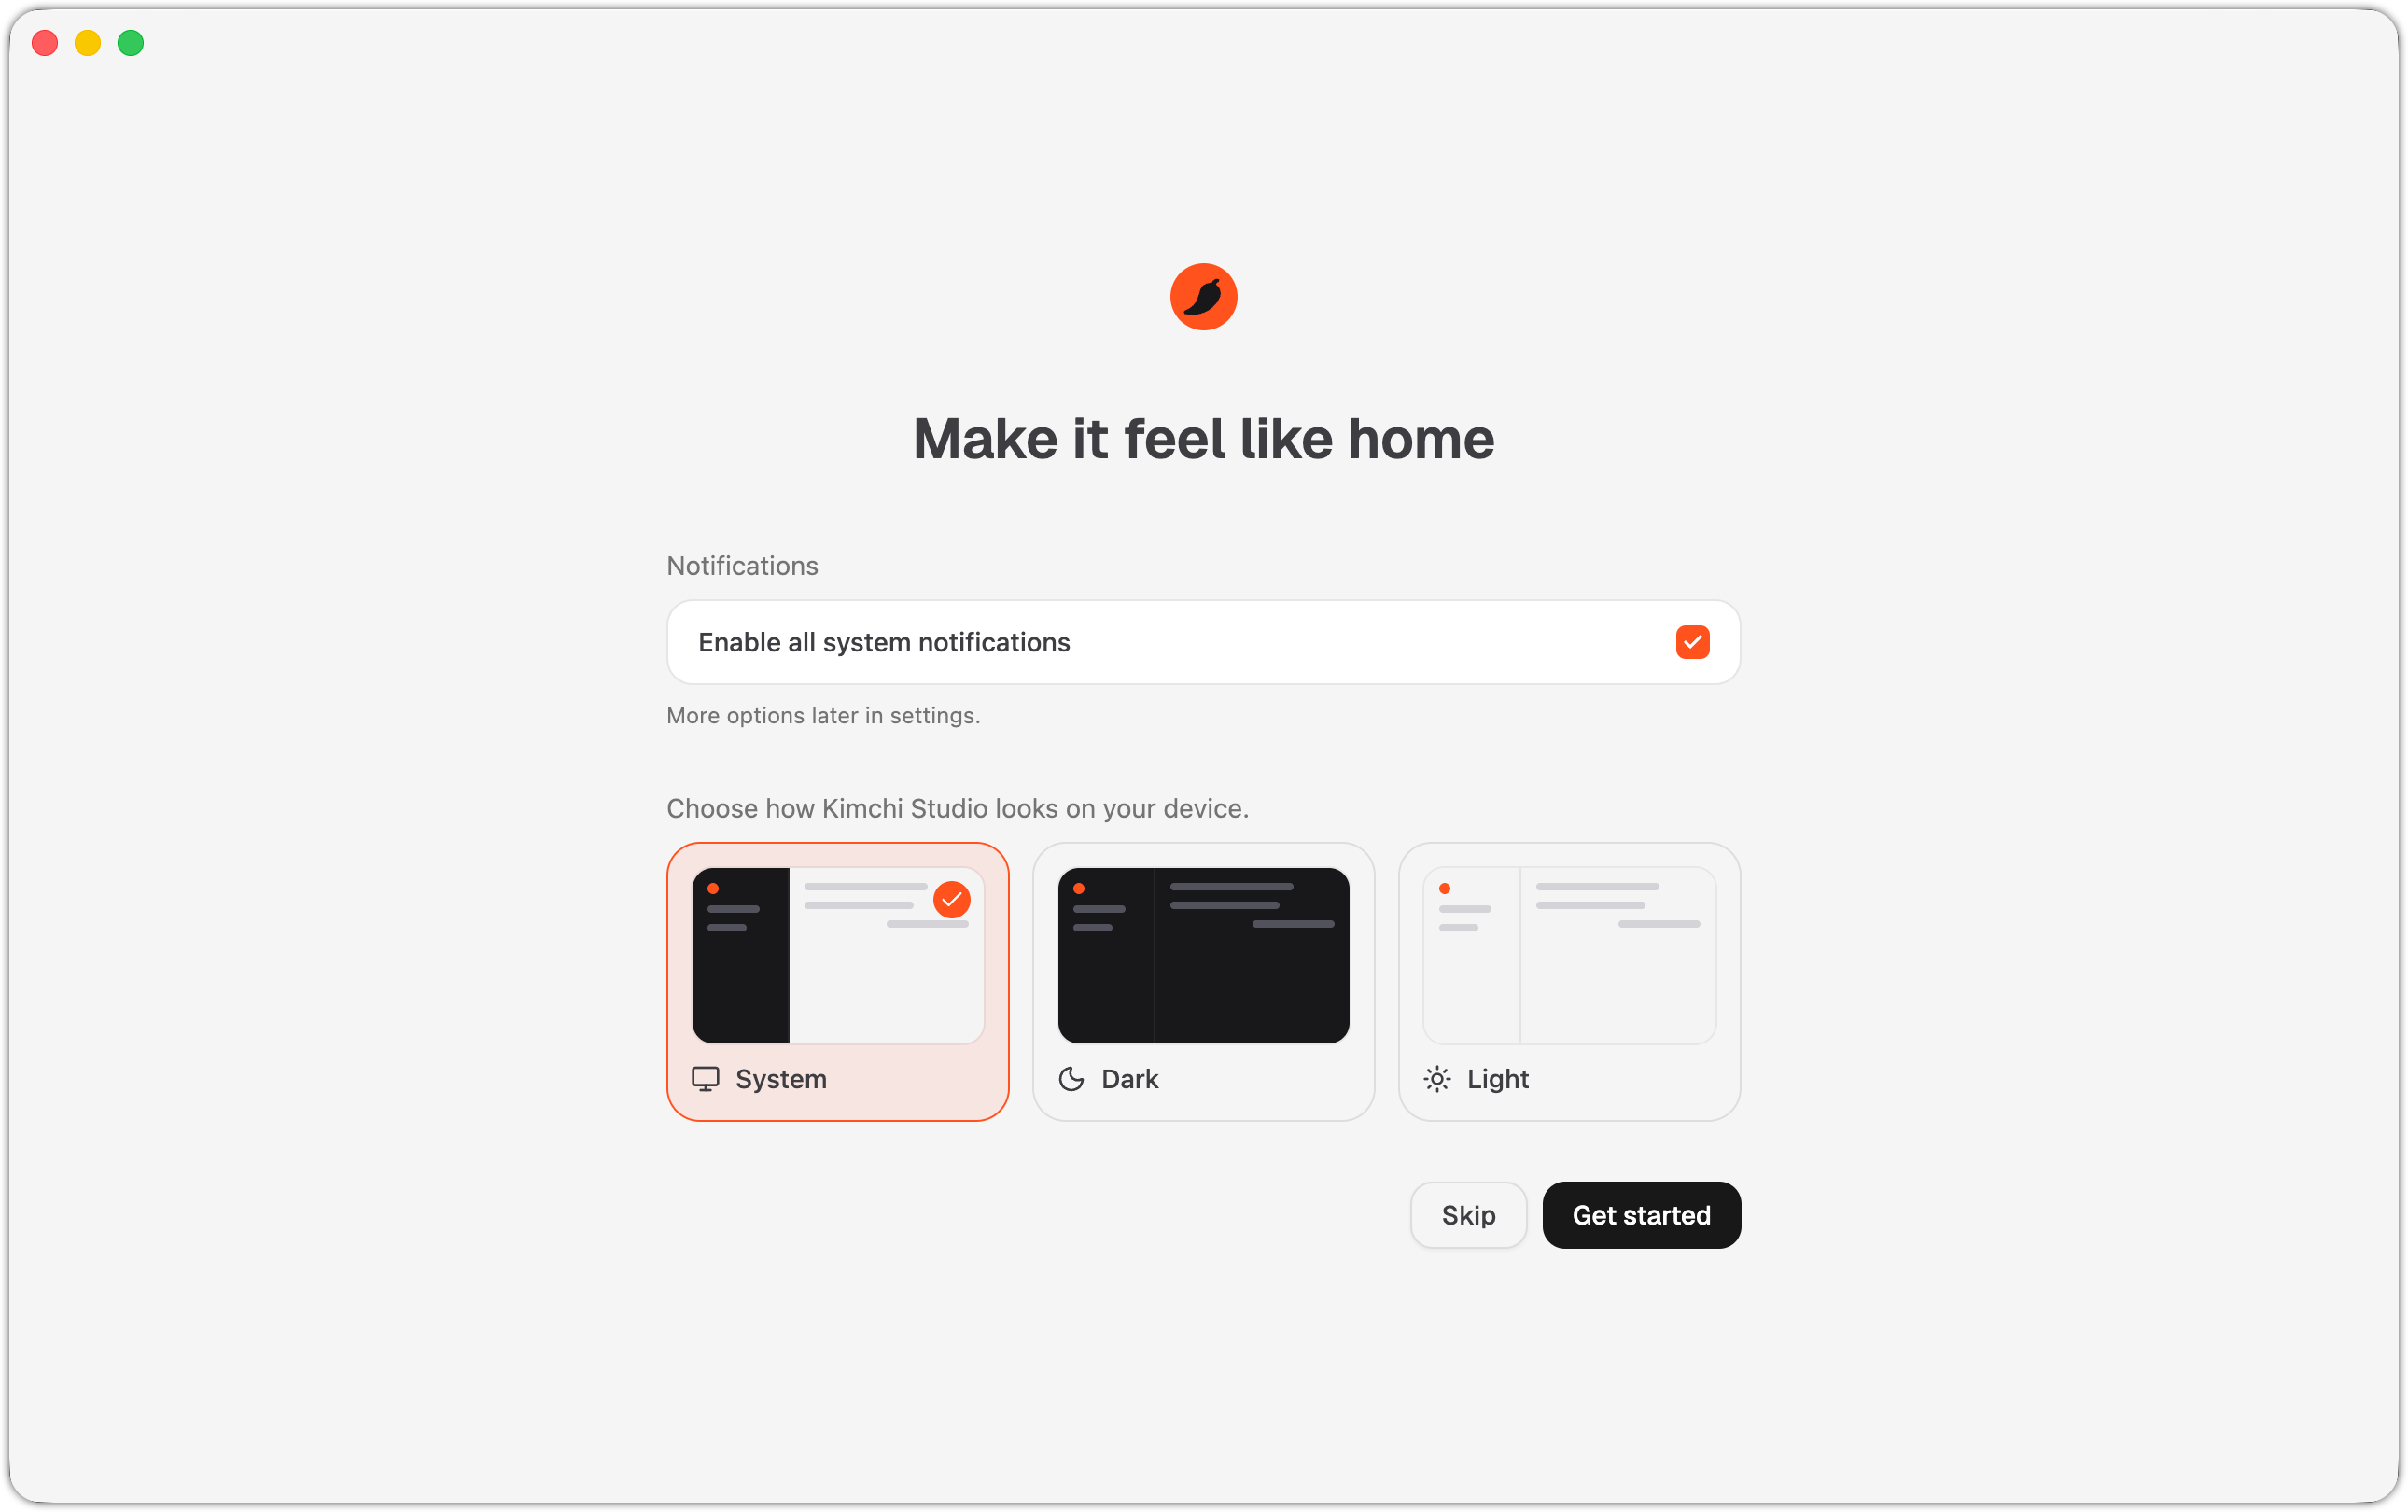
The onboarding preferences screen for notifications and appearance (System, Dark, or Light).
Start working
You're signed in, and a conversation is already open. Describe the task you want and hit Enter, and the agent starts working.
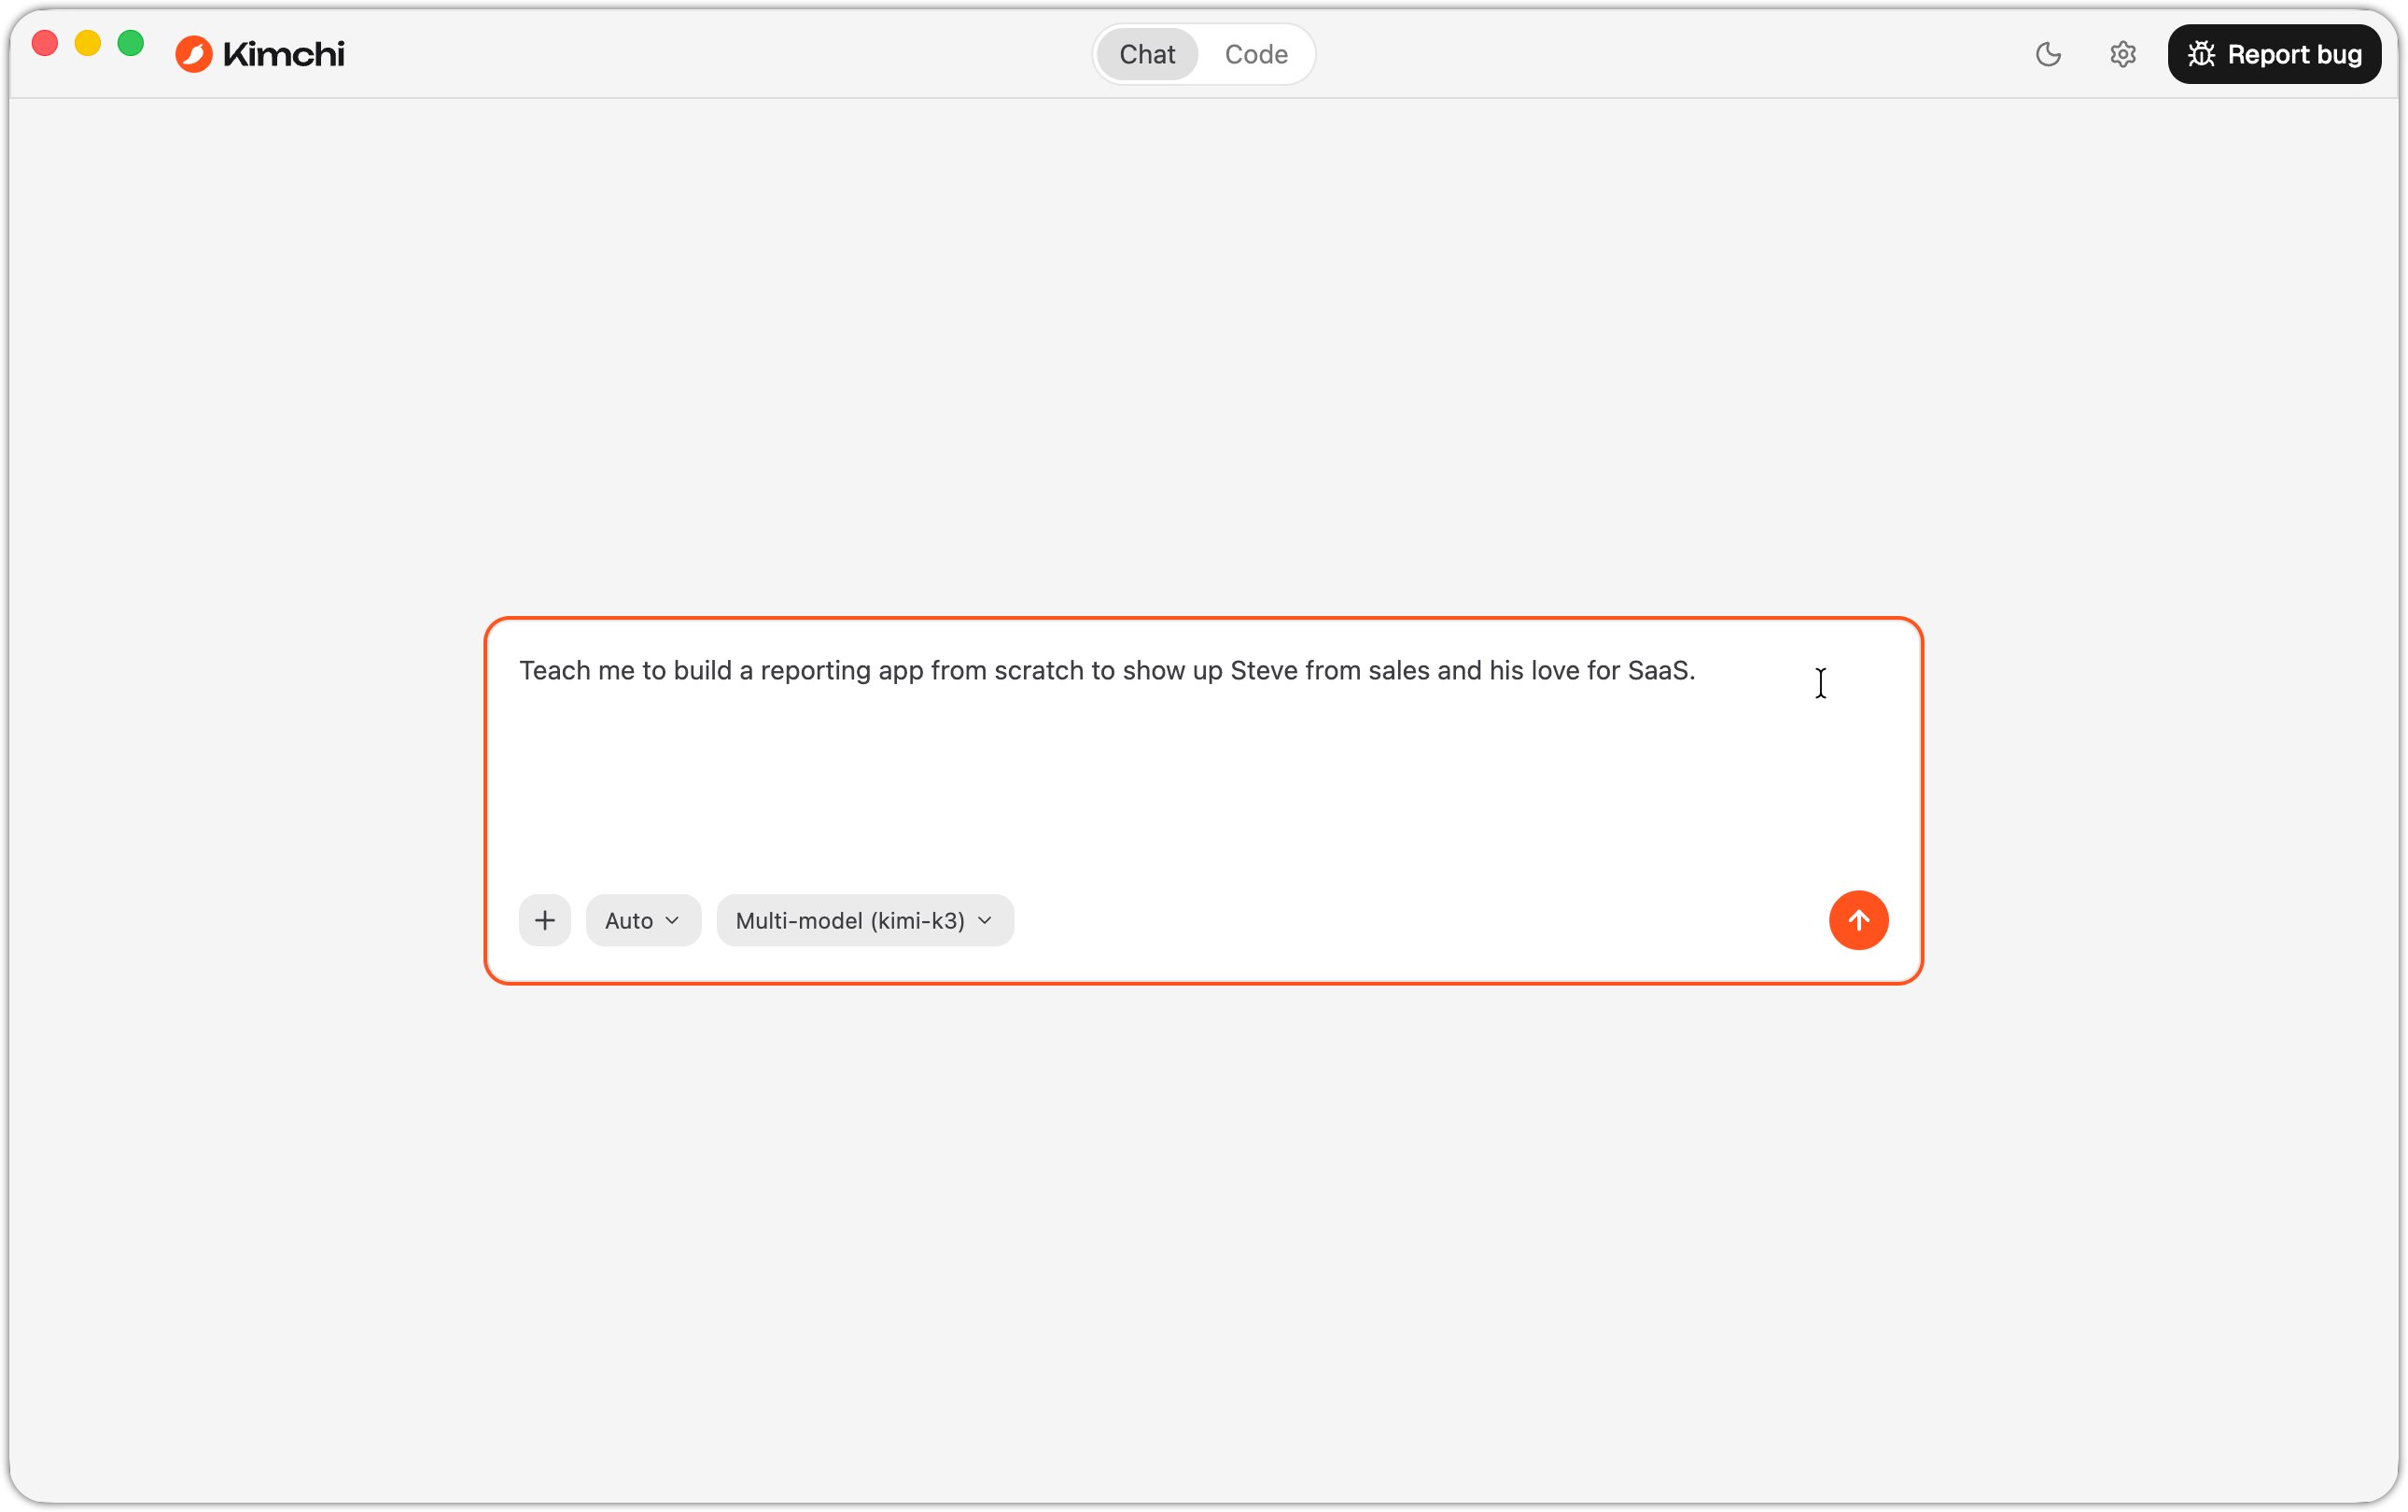
Your first session starts empty, ready for a prompt describing your task.
From here it's your call:
- Talk it through: keep working in Chat mode. No project or setup needed; the agent works in your home directory.
- Work on code: switch to Code mode and add a project. The agent can then work in a repository with live diffs, a terminal, and a browser. See Work in a project.
Sign-in doesn't complete, or the browser step stalls
The login flow hands off to your browser. Make sure the browser can open links from Studio, complete the Kimchi authorization, then return to the app. If you already signed in on the CLI or the VS Code extension, Studio should pick up that account without prompting.
What's next
Updated 6 days ago